NextJS Secure Authentication
Seamless & Secure Authentication for Next.js Apps
GITHUB INFO
FEATURES
CSRF Protection
HTTP-only cookies
Secure session handling
Protected API routes
Type-safe authentication
INFO
Categories
SecureApp - Next.js Authentication System
A modern authentication system built with Next.js 13+, featuring multiple sign-in methods and a beautiful, responsive UI using Tailwind CSS and shadcn/ui components.
Features
- 🔐 Multiple authentication providers:
- Email Magic Links
- GitHub OAuth
- Google OAuth
- 🎨 Modern UI with Tailwind CSS and shadcn/ui
- 🌓 Dark mode support
- 📱 Fully responsive design
- ⚡ Server-side rendering with Next.js 13+
- 🔒 Protected routes with middleware
- 🚀 Type-safe with TypeScript
Prerequisites
- Node.js 16.8 or later
- npm or yarn package manager
Getting Started
-
Clone the repository
-
Install dependencies:
npm install -
Set up environment variables by creating a
.envfile in the root directory:# Auth Providers NEXTAUTH_URL=http://localhost:3000 NEXTAUTH_SECRET=your-secret-key-at-least-32-chars # GitHub OAuth GITHUB_ID=your-github-client-id GITHUB_SECRET=your-github-client-secret # Google OAuth GOOGLE_ID=your-google-client-id GOOGLE_SECRET=your-google-client-secret # Email (Magic Link) Provider EMAIL_SERVER=smtp://localhost:1025 EMAIL_FROM=noreply@yourdomain.com # Database DATABASE_URL=your-database-url -
Run the development server:
npm run dev -
Open http://localhost:3000 in your browser.
OAuth Provider Setup
GitHub OAuth
- Go to GitHub Developer Settings
- Create a new OAuth App
- Set the homepage URL to
http://localhost:3000 - Set the callback URL to
http://localhost:3000/api/auth/callback/github - Copy the Client ID and Client Secret to your
.envfile
Google OAuth
- Go to the Google Cloud Console
- Create a new project
- Enable the Google+ API
- Configure the OAuth consent screen
- Create OAuth 2.0 credentials
- Set the authorized redirect URI to
http://localhost:3000/api/auth/callback/google - Copy the Client ID and Client Secret to your
.envfile
Email Provider Setup
-
If using Gmail:
- Enable 2-factor authentication
- Generate an app-specific password
- Use this password in your
.envfile
-
If using Resend:
- Sign up for a Resend account
- Obtain your SMTP credentials from the Resend dashboard
- Use these credentials in your
.envfile - Example:
EMAIL_SERVER=smtp://<username>:<password>@smtp.resend.com:587
-
Update the
EMAIL_FROMaddress in your.envfile
Prisma Setup
Prisma is used as the ORM (Object-Relational Mapping) tool in this project to interact with the database. It provides a type-safe database client and a powerful schema-based approach to database management.
Setting Up Prisma
- Ensure your database is running and accessible.
- Update the
DATABASE_URLin your.envfile with your database connection string. - Run the following command to generate the Prisma client:
npx prisma generate - To apply any schema changes to your database, run:
npx prisma migrate dev --name init
Prisma Schema
The Prisma schema is defined in prisma/schema.prisma. It includes models for User, Account, Session, and VerificationToken, which are used to manage authentication and user sessions.
Project Structure
├── app/                    # Next.js 13+ app directory
│   ├── api/               # API routes
│   ├── auth/              # Authentication pages
│   └── ...                # Other app routes
├── components/            # React components
│   ├── auth/             # Authentication components
│   ├── layout/           # Layout components
│   └── ui/               # UI components
├── lib/                   # Utility functions and configurations
│   ├── auth.ts           # Authentication configuration
│   └── json-file-adapter.ts  # Custom NextAuth.js adapter
├── data/                 # Data storage
│   └── auth.json         # Authentication data store
└── types/                # TypeScript type definitions
Authentication Flow
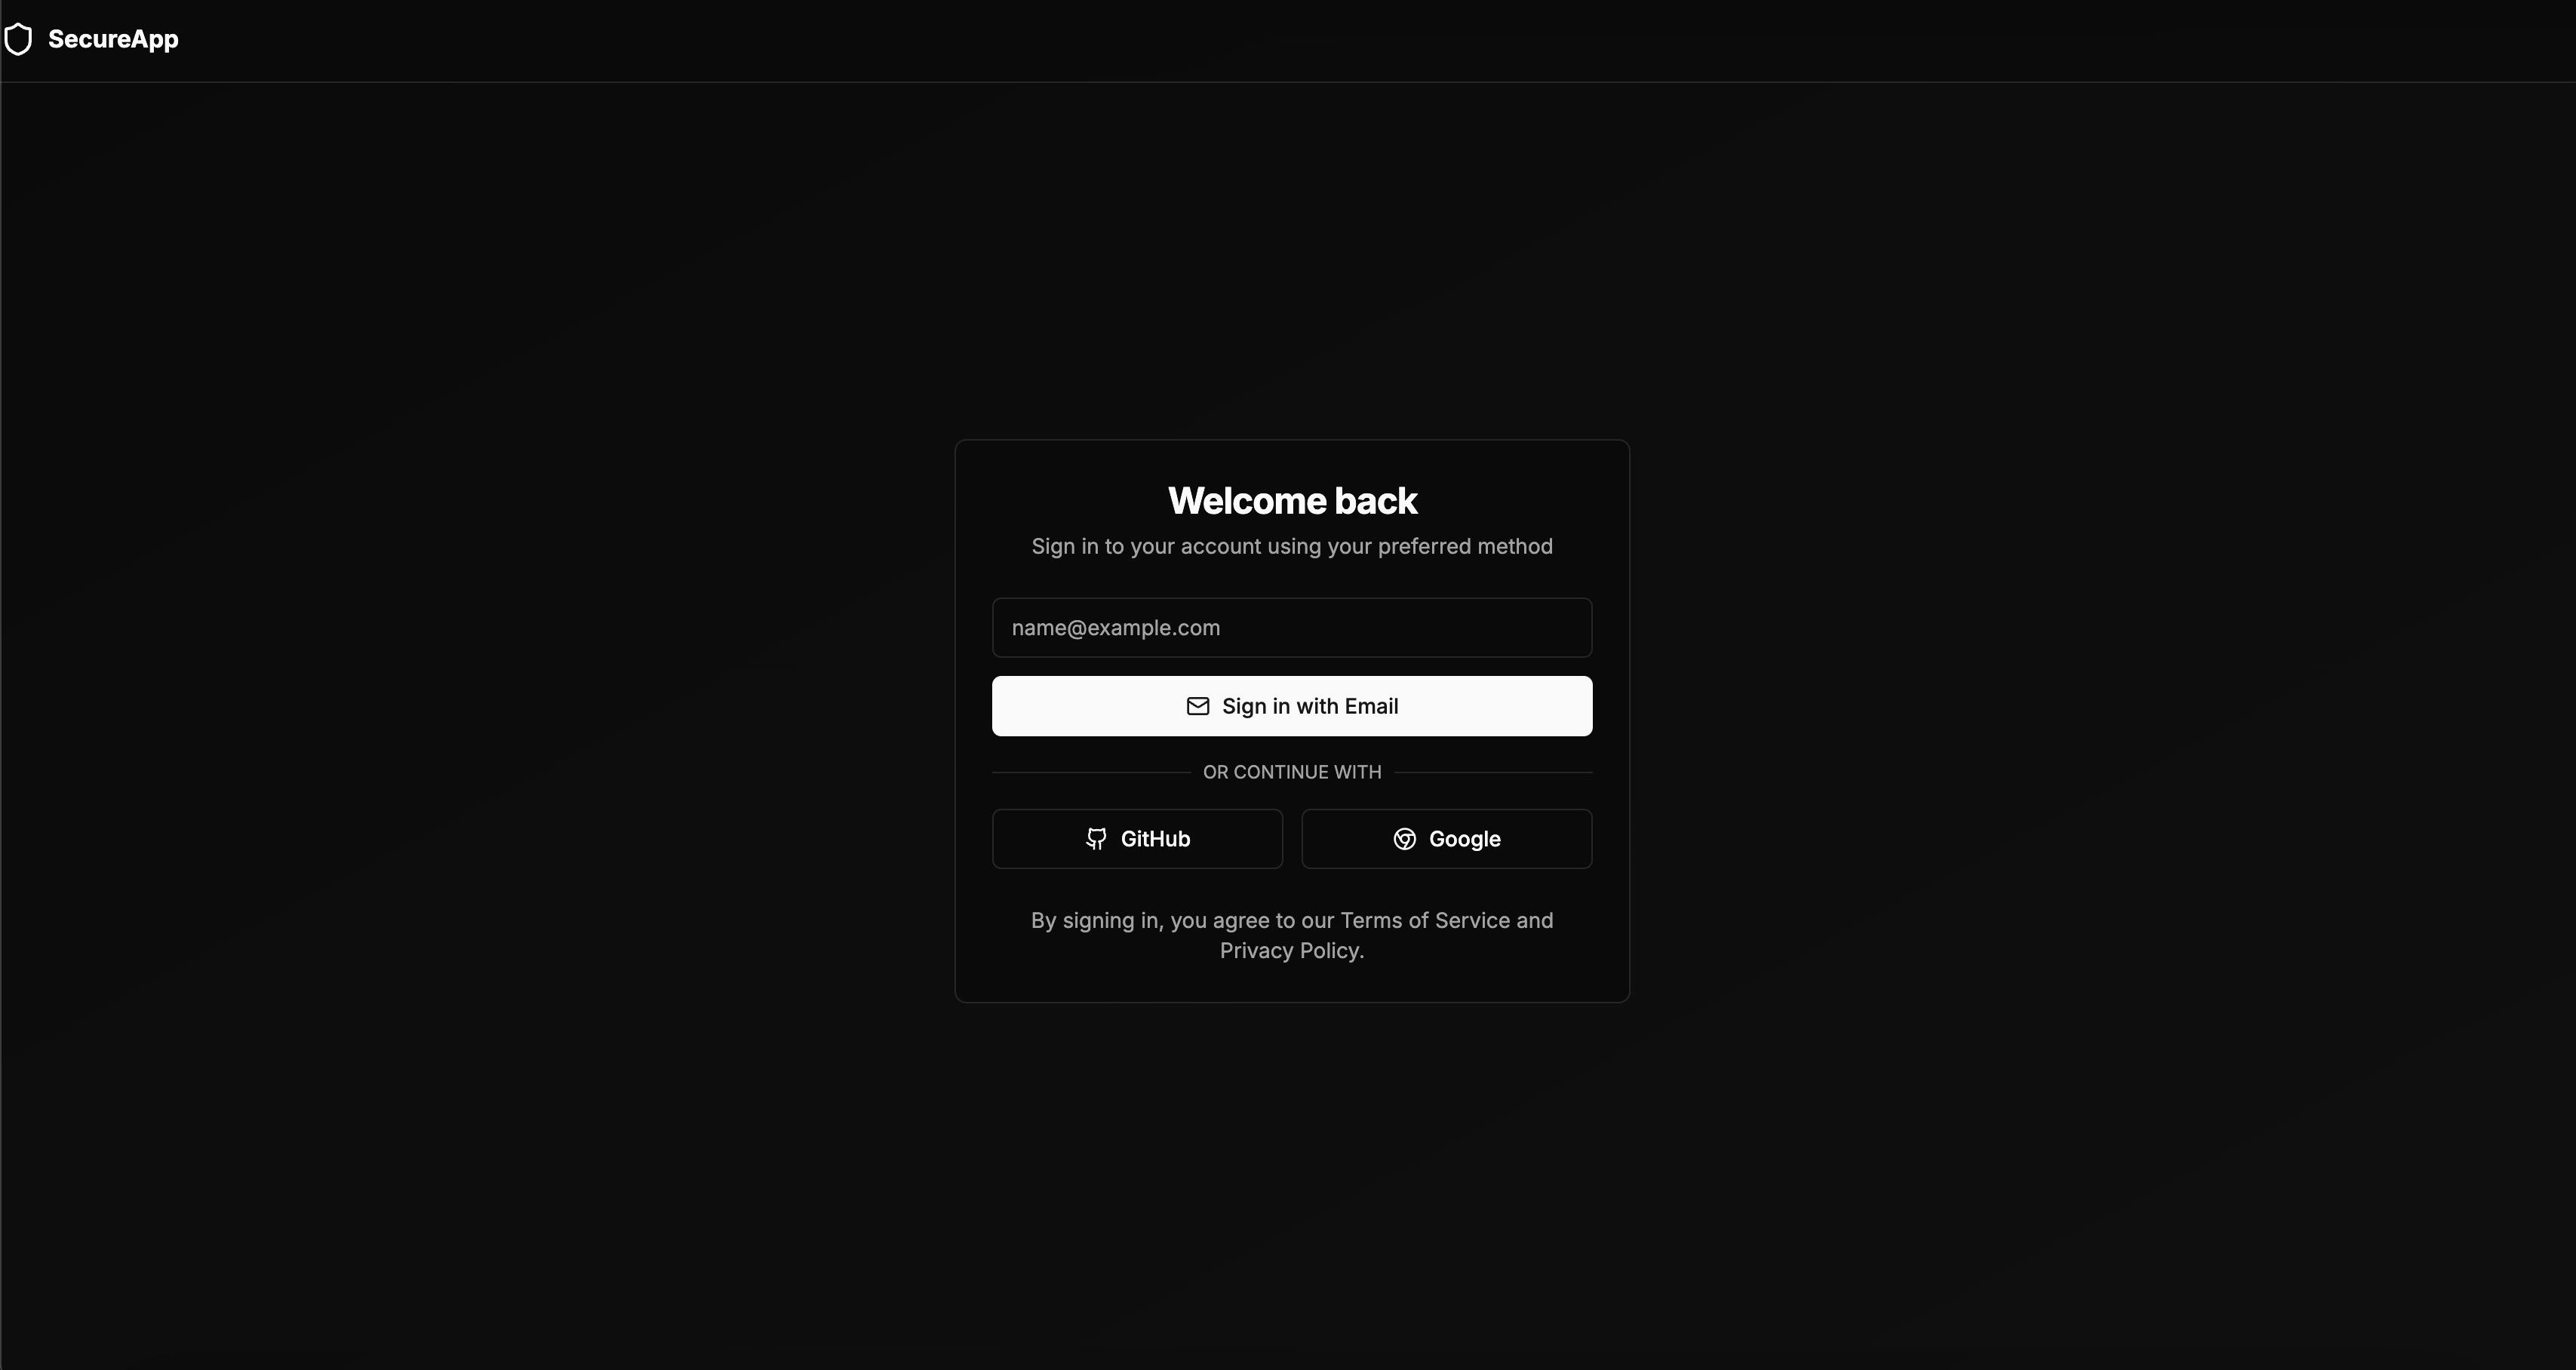
- User visits the sign-in page
- User chooses an authentication method:
- Email Magic Link
- GitHub OAuth
- Google OAuth
- After successful authentication:
- Session is created
- User is redirected to the homepage
- Protected routes become accessible
Security Features
- CSRF Protection
- HTTP-only cookies
- Secure session handling
- Protected API routes
- Type-safe authentication
Built With
- Next.js - React framework
- NextAuth.js - Authentication
- Tailwind CSS - CSS framework
- shadcn/ui - UI components
- Lucide Icons - Icons
- TypeScript - Type safety
- Prisma - ORM for database management
License
This project is licensed under the MIT License - see the LICENSE file for details.
Contributing
- Fork the repository
- Create your feature branch
- Commit your changes
- Push to the branch
- Open a Pull Request
Support
For support, please open an issue in the repository.


